Key takeaways
- Measure fridge body depth, handles, hinge height and door clearance with a practical worksheet and a clearly labeled projection example.
Measure a counter-depth refrigerator in three states: the cabinet body, the closed appliance including handles, and the space needed with doors or drawers open. Then check height at the hinges. The shallowest number in a product listing cannot answer all four questions.
A refrigerator can fit inside a cabinet opening and still project into the aisle or fail to open beside a wall. Use the worksheet below to compare the kitchen and the exact appliance without mixing measurements taken from different starting points.
Mark a common starting line
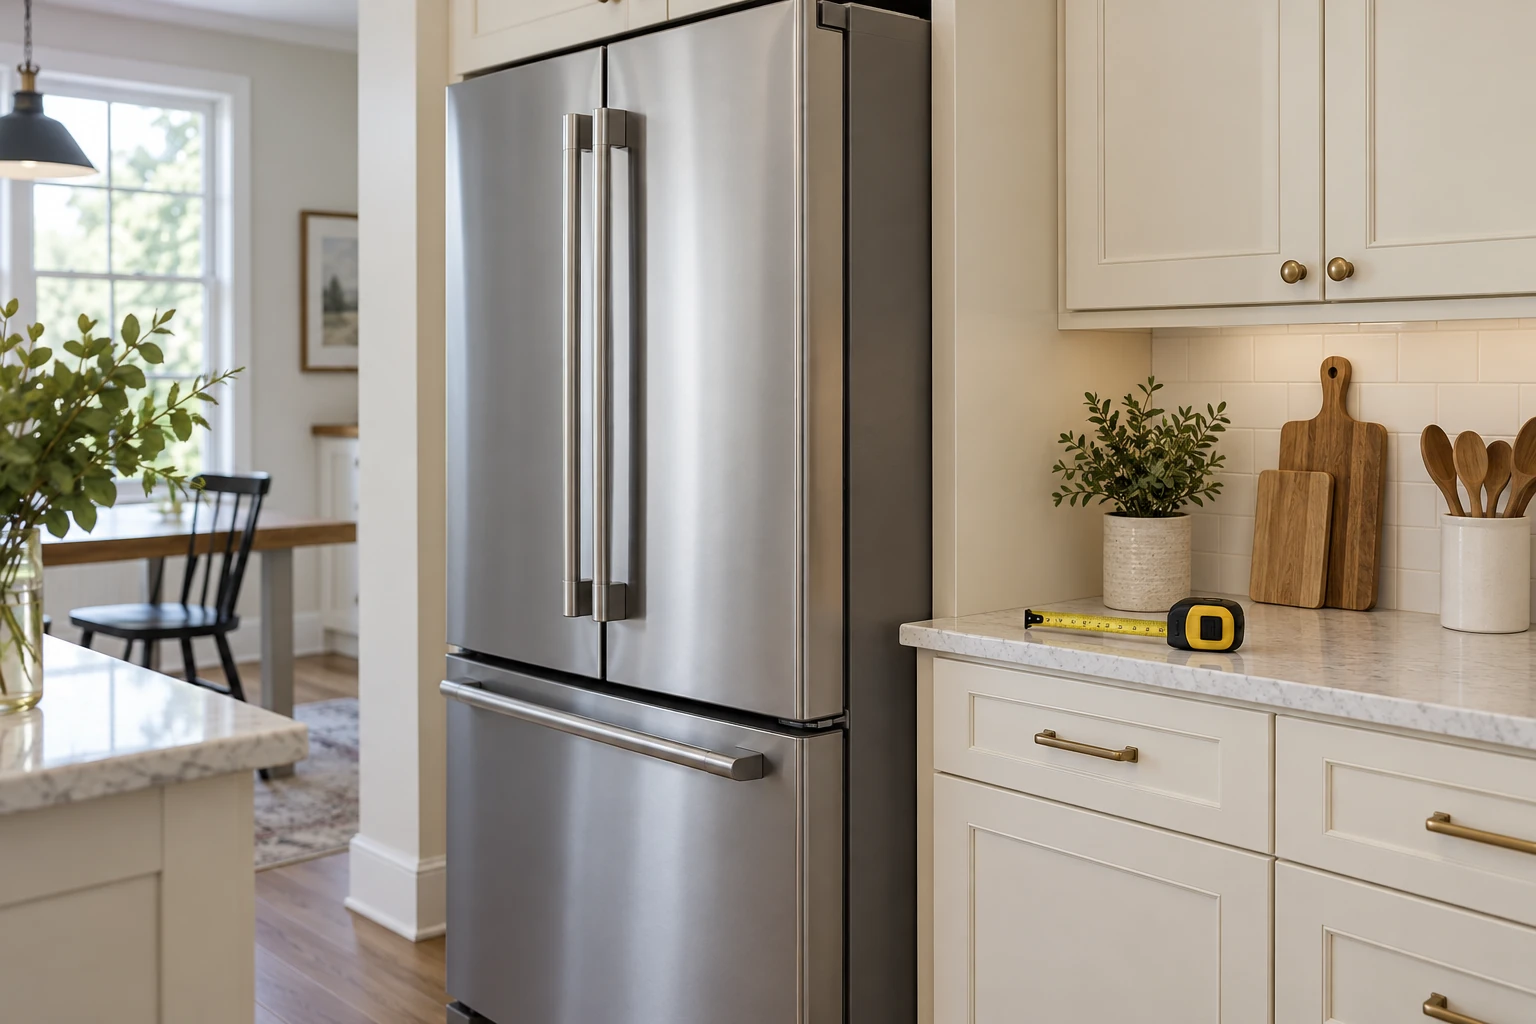
Draw a simple top view of the refrigerator opening. Mark the rear wall, cabinet fronts, countertop edge, adjacent wall and island. Measure the actual finished space rather than relying on the original kitchen plan. Baseboards, projecting outlets and trim can affect where the appliance can sit.
Record wall-to-countertop depth separately from wall-to-cabinet-front depth. They are different reference lines when the countertop overhangs the cabinet. Write the reference beside every measurement; otherwise, two accurate numbers can produce an inaccurate comparison.
Whirlpool’s measuring guide distinguishes depth with and without doors or handles, plus depth with doors and drawers open. It also points out that an island can interfere with opening. Use those distinctions to read the specification sheet, then obtain the required clearances from the exact model’s installation instructions.
Separate dimensions from clearances
A dimension describes the appliance. A clearance describes space around it. Do not assume the listed depth already includes rear installation clearance, or add that clearance twice if an installation drawing already shows a total installed envelope. Read the drawing’s measurement endpoints before calculating.
| Check | Appliance information | Kitchen measurement |
|---|---|---|
| Body placement | Depth excluding doors | Rear wall to cabinet front |
| Closed projection | Depth including handles plus applicable rear allowance | Rear wall to countertop edge |
| Top fit | Case height, hinge height and required top space | Lowest point under upper cabinet |
| Side fit | Body width and side requirements | Narrowest finished opening |
| Door operation | Door-open width/depth and hinge-side requirements | Adjacent wall, trim and island positions |
| Drawer access | Required opening for normal use and removal | Available space in front |
Do not leave a blank field looking like zero. Write “not supplied” and ask for the missing drawing. Keep measurements for the same model suffix together; a handle style or door design can change the result.
See why one depth number is inadequate
For a documented example, LG lists the LRMXC2206D at 24¾ inches deep without its doors, 28¾ without handles and 31¼ with handles. Its listed case height is 68½ inches, while height to the door hinge is 69¾ inches. These are specifications for that model, not recommended dimensions for every kitchen.
The difference between the shallowest and deepest closed measurements is 6½ inches. The hinge is 1¼ inches above the case. Those differences explain why choosing only the body depth and case height can hide a conflict. The product’s separate installation-clearance information must still be considered.
Calculate closed projection with an illustrative example
Illustrative dimensions, not a real installation: a kitchen measures 25½ inches from the rear wall to the countertop edge. A candidate refrigerator measures 30½ inches deep including handles. Assume its exact installation instructions require a 2-inch rear allowance, measured outside that product depth.
Installed front position = 30½ + 2 = 32½ inches from the wall. Handle projection past the countertop = 32½ − 25½ = 7 inches. This is a planning calculation, not proof that the candidate fits. The side, top and door-opening checks remain separate.
Mark that front position on a paper plan or with surface-safe removable markers after checking the flooring’s care guidance. Walk through the room carrying the objects you normally move there. This exercise can reveal a daily inconvenience that the phrase counter-depth does not communicate. Do not use it to replace required access or installation clearances.
Check the hinge-side wall before celebrating
An appliance may enter the opening but have its handle meet a neighboring wall before the door reaches the required angle. Copy the manufacturer’s door-swing drawing onto your room sketch in the same orientation. Include projecting window trim, cabinet handles and countertop edges rather than representing the wall as a featureless line.
Ask two distinct questions: can the doors open for everyday loading, and can drawers or shelves be removed as the manufacturer intends? A stated 90-degree opening dimension does not automatically answer the removal question. Resolve that with the installation or service-access drawing before ordering.
Save a one-page purchase record
Attach the model-specific dimension sheet, installation requirements and your measured sketch to the quote. Highlight the five numbers most likely to get confused: body depth, closed depth with handles, hinge height, installed rear allowance and door-open envelope.
Finally, have the delivery provider review the route from entrance to kitchen separately. A refrigerator’s fit in its final position says nothing about a tight stair turn. If a proposed model changes, repeat the worksheet instead of transferring the old pass result. The goal is a refrigerator that fits, opens and remains usable in the actual kitchen.