Key takeaways
- Plan a countertop ice-maker water-line installation with model-specific pressure, fittings, drainage, leak checks, flushing, cleaning and shutdown steps.
A countertop ice-maker water line should be installed only when the exact model manual authorizes connection to a pressurized potable-water supply. This checklist helps a homeowner plan questions, inspect the finished work and maintain the appliance; it is not a substitute for the manufacturer’s instructions, local plumbing or electrical code, or a licensed professional. Reservoir and gravity side-tank models must never be improvised into direct-plumbed units.
Editorial installation diagram, not approval for a particular appliance or building.
Our top picks
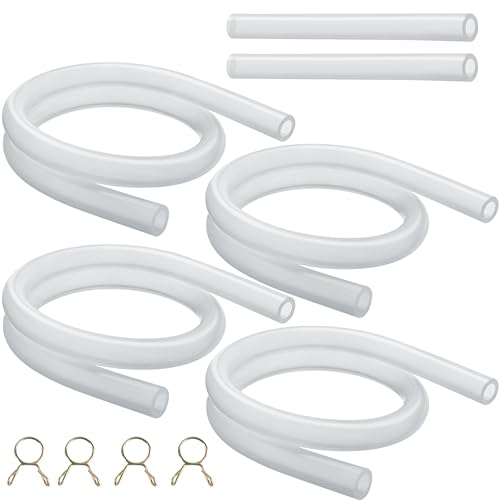
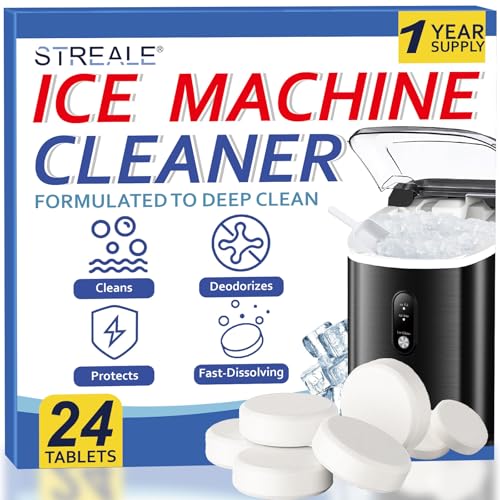


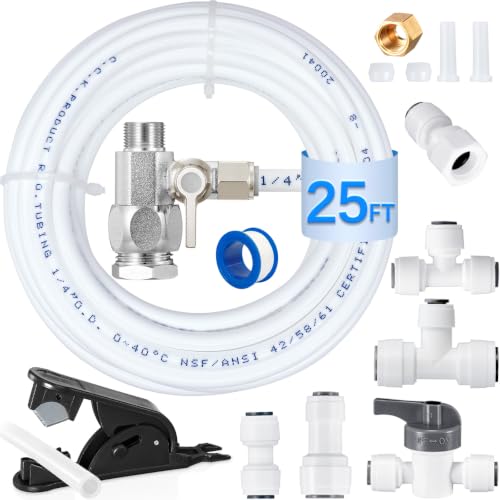


As an Amazon Associate we earn from qualifying purchases at no extra cost to you.
Gate zero: prove the model accepts line pressure
Find the rating label and record the complete model and revision. Download the manufacturer manual for that exact identifier. Search it for potable water, inlet pressure, tubing size, connector, filter, drain, clearance, cleaning and winterization.
Stop if the manual discusses only pouring water into a reservoir, connecting a gravity side tank, or attaching a tube for draining. GE’s Opal side-tank instructions, for example, describe a hand-filled accessory. That hose is not evidence that the machine accepts household pressure.
Do not rely on a retailer’s “water line compatible” phrase. Ask the manufacturer to confirm in writing when documentation is ambiguous. Our water-line versus reservoir comparison helps classify the system before any work begins.
Pre-installation worksheet
Record these values without guessing:
- permitted cold-water inlet pressure and temperature;
- required tube material and outside diameter;
- fitting, ferrule, insert and seal types;
- approved filter and replacement interval;
- gravity, pumped or manual drain arrangement;
- side, rear and top ventilation clearances;
- electrical voltage, grounding and receptacle requirements;
- operating and filled weight;
- maximum drain rise or run, if a pump is used;
- installer or warranty restrictions.
Measure actual supply pressure if the manual or plumber requires it. Household pressure can exceed an appliance valve’s limit, while a restrictive filter can reduce delivered pressure. A qualified plumber should select an approved regulator or connection method when needed.
Inspect the proposed counter. It must be level, strong, water resistant and outside cooking heat or direct sunlight. Mark lid and bin opening space. Plan a route that keeps water tubing and the power cord away from sharp edges, cabinet slides, hinges and hot appliances.
Supply valve and tube routing
Use an accessible cold-water shutoff accepted by local code. The user should be able to isolate the ice maker promptly without moving a full machine or reaching through a leak. Do not hide the valve behind permanently fixed cabinetry.
Avoid improvised piercing valves, garden-hose parts and unapproved universal kits. Match all parts to the manual. Compression fittings seal through their designed surfaces; extra thread tape or sealant can interfere when instructions do not call for it. Metric and imperial tubing that look alike may not seal together.
Cut tubing squarely with the proper tool, remove burrs as directed and insert it to the specified depth. Support the line without crushing it. Leave service slack but no tight coil or kink. Protect every cabinet penetration with an appropriate smooth sleeve.
Only potable cold water should enter the machine. Never connect hot water, an irrigation supply or water of uncertain safety. Filters must be rated for the pressure and application. Install them in the direction shown and flush them as instructed before connecting or making ice.
Drain planning
Supply and drainage are separate questions. Some countertop units recycle meltwater or drain manually. Others need a gravity drain or pump. Determine which applies before opening a supply valve.
A gravity hose must maintain the slope, height and destination stated in the manual. Sags hold water and residue; uphill routing prevents flow. Local code may require an air gap or other backflow protection. Do not push a drain hose into a waste pipe in a way that can siphon contaminated water back toward food-contact equipment.
For a drain pump, respect maximum lift, horizontal run and maintenance access. Test what happens when power fails. A pump does not make an overflowing bin or blocked drain harmless.
Drain-free machines still need a safe emptying procedure. Locate caps and tubes, provide a container and never tilt a running or energized machine. A water-resistant mat can catch service drips, but it cannot control a continuous supply leak.
Electrical and ventilation checks
Use the receptacle and grounding arrangement in the manual. Keep plug, adapter and outlet outside splash and leak paths. Do not use an extension lead unless expressly permitted. Do not share an overloaded strip or route a cord beneath the appliance.
Leave every required vent gap open. Ice makers reject heat through fans and condensers; blocked airflow can reduce production and raise operating temperature. Water tubing should not cross a hot exhaust.
Recurring breaker trips, a hot plug, damaged insulation, shock, burning odor or water at an electrical connection requires immediate isolation from a safe dry location and qualified service. Never reach through pooled water to unplug equipment.
First connection and leak test
Keep the appliance unplugged while making water connections unless the manual specifies otherwise. Close the shutoff, assemble the approved components and support the tubing. Open the valve slowly while observing every joint.
Use a dry paper towel around fittings to reveal small leaks. Check immediately, again after the line has remained pressurized, and during the first fill cycle. Never tighten a fitting blindly while it is leaking under pressure. Shut off, depressurize as instructed, inspect seating and replace damaged components.
Run the manufacturer’s flush volume through new tubing and filters. Discard the first ice cycles stated in the manual. A clear cube does not prove that manufacturing residue, cleaner or unsafe water has been removed.
Watch the first complete production, harvest, meltwater and drain sequence. Confirm that the supply stops, the bin sensor operates, water does not collect beneath the unit and hoses remain secure when the machine vibrates.
Cleaning schedule
Follow the manual rather than a universal calendar. Usage, hardness, ambient temperature and storage affect cleaning needs. Record dates for cleaning, descaling and filter replacement.
Before cleaning, close the water shutoff and disconnect power according to instructions. Allow components to stop and drain into an appropriate container. Remove only parts the manual identifies as user-serviceable.
Wash removable food-contact components with the specified soap, temperature and method. Some tanks and parts are not dishwasher safe. Use only an approved descaler or sanitizer at the stated concentration. Never combine chlorine products with acids, vinegar, ammonia or another cleaner; hazardous gases and residues can result.
Cleaning removes soil; sanitizing reduces microorganisms; descaling dissolves mineral deposits. One step does not automatically perform the others. Complete every rinse cycle. Wipe the condenser or air filter only as instructed, without bending fins or wetting electrical parts.
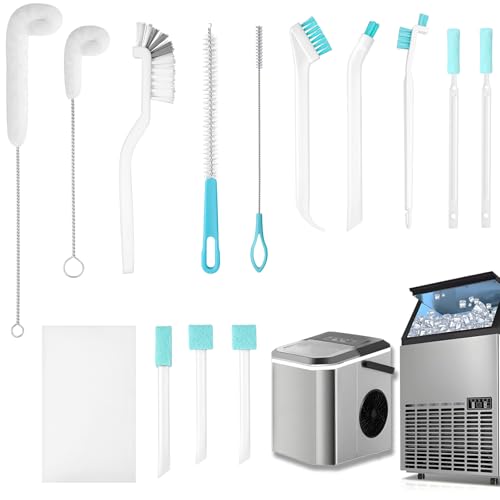
Inspect the inlet tube, valve area, drain, pump, reservoir corners, ice chute and scoop storage. Replace cracked tubing, damaged seals or degraded food-contact parts through the approved service route rather than sealing them with household adhesives.
The existing countertop ice-maker cleaning guide provides general organization, but the exact model manual controls chemicals and disassembly.
Water advisories and long shutdowns
During a boil-water advisory, stop using ice from the affected supply and follow local public-health instructions. Freezing does not reliably make unsafe water safe. After the advisory, the utility and appliance manufacturer may require flushing, filter replacement, cleaning, sanitizing and discarded cycles.
For storage, close the supply, unplug, drain, clean, rinse and dry according to the manual. Do not leave trapped water in tubing or pumps. Freezing temperatures can rupture wet components. “Winterization” procedures vary, and compressed air or antifreeze must never be improvised in food equipment.
After vacation or prolonged inactivity, inspect for leaks, pests, odor and residue before restoring supply. Replace expired filters and run the documented recommissioning procedure.
Monthly inspection
Trace the full supply tube and drain with a light. Look for abrasion, discoloration, mineral tracks, swelling, kinked sections, loose clips and cabinet moisture. Operate the shutoff so it does not seize, if local guidance and valve instructions permit. Test leak alarms and replace batteries on schedule.
Check ventilation and remove dust using the approved method. Confirm the machine remains level and has not been pushed against tubing. Review the ice for unusual odor or appearance, but remember that appearance is not a water-quality test.
Stop using the appliance for recurring leaks, incomplete draining, unexplained contamination, electrical problems, damaged internal coatings or a valve that does not stop filling. Shut off water and contact authorized service.
Installation handoff record
Keep the model, serial number, manual, purchase invoice, installer details, supply pressure, tubing and filter specifications, photographs of connections, cleaning log and warranty. Label the shutoff clearly for other household members.
The safest installation is easy to isolate, inspect and clean. If documentation, pressure, drainage or electrical placement is unresolved, use a reservoir machine or delay the project. The direct-water-line buying guide explains how to screen models before investing in plumbing.
Sources
- GE Appliances: Opal side-tank installation
- U.S. EPA drinking-water information
- NSF water-filter consumer guidance
- FDA Food Code